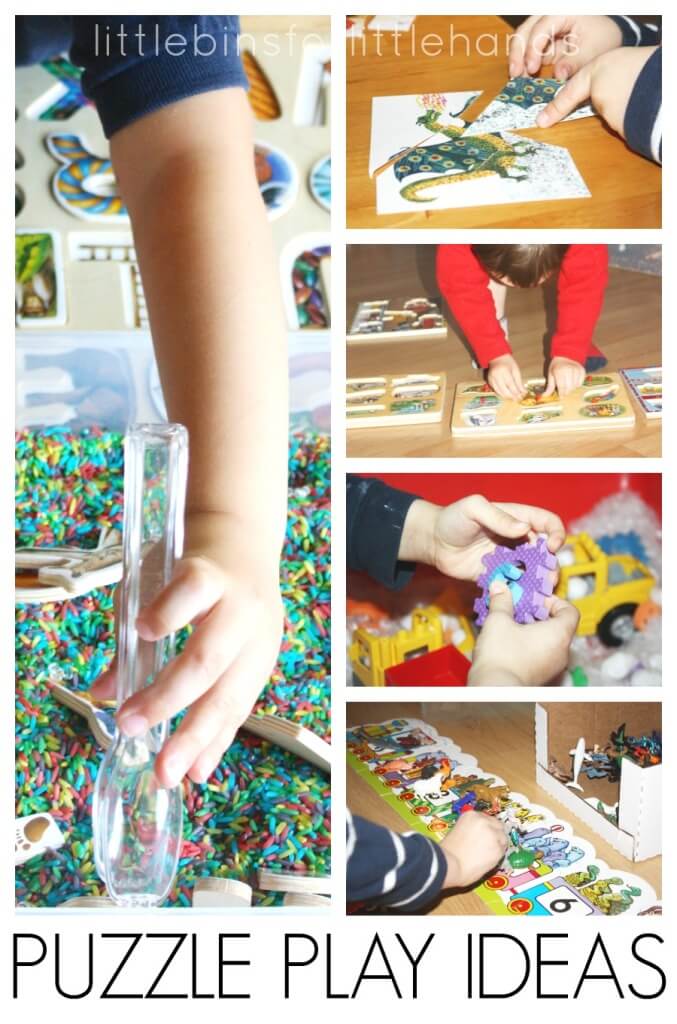
In stores you can buy such a product for every adult and child. A huge assortment allows you to choose such a product that you like. But unlike homemade mittens made with care and love, they will not give you a sense of home decor and true comfort.
In the article we will tell you how to knit gloves on a typewriter. Thanks to step-by-step instructions and a detailed description, you can get a beautiful and necessary thing.
What you need to knit on a machine

In order to make the desired thing, you will need to take care of such materials and tools.
- Knitting machine.
- Threads suitable for clothing color.
- Rubber.
- Measuring tape and pencil for schematic construction of the workpiece.
Of course, one cannot do without desire and free time for sewing. This process, although simple, but still requires skill and skill in working with the machine.
We offer a set of materials only for knitting the very base of the gloves.
Important! If you want to supplement products with special inserts and decor elements, you should purchase the desired parts and decorations. For this, patches with print, rhinestones or beads are perfect.
You can also make changes and make the thing truly exclusive with multi-colored threads.

Each craftswoman has her own secrets and interesting ways of sewing. Someone likes to start with fingers, someone considers knitting with elastic to be right. In any case, there are certain rules that must be followed to obtain a good and high-quality thing.
We offer you a step-by-step plan and instructions for knitting, which will explain all the questions that arise during the work.
- Take the measurements of the hand : the girth of the wrist, the length of the palm and the distance to the fingertips. Based on these sizes, build a drawing and get started.
Important! Arm sizes can vary greatly from person to person. Therefore, take measurements in advance and adjust the machine so that the product matches the shape of the hand and fits comfortably.
- Sew a few rows with the auxiliary thread, adjusting needles 2 through 2.
- Then, using the main thread, make a two-length elastic band . Move the hinges to the trailing edge, and then half of them put on the thread.
- Place the product with the thread on the front front of the machine and knit in a circle to the place of the thumb . Mark it with a different color.
- Sew it all the way to the start of your fingers . Start knitting the little finger using only the needles necessary for this. Fold the rest into a non-working state.
- Do the same with the other fingers in order.
- Pay special attention to the thumb. Left and right gloves should be different. Remember to check this when working .
- After that, remove all the threads inside .
- Fold the gum in half and connect the parts together .
Everything is ready, it remains to try on and can be worn with pleasure.
DIY items will always be a great gift. Try experimenting and linking things for friends and family. For you, this will be good practice and testing your skills. And you will give those around you a wonderful and necessary thing that will warm their body and soul.
Do not be afraid to make changes and create a new style. Imagine and create hand-made masterpieces.